saving & transferring a schedule
You'll want to save your Schedule at some point. Maybe you need to email your Schedule file to someone, or save it to a memory stick or cloud service. No matter what you need to do with your new Schedule file, follow these steps to get started.
- Click Save
 in the main toolbar OR click File > Save Schedule As or Export Standalone Schedule. This will open the Save EasyWorship Schedule window.
 - Choose the location on your computer where you want to save the file.
NOTE The default location for EasyWorship schedule files is \Users\Shared\Softouch\EasyWorship\Default\Resources\Schedules. If you want to save to a different location, choose that location in this window.
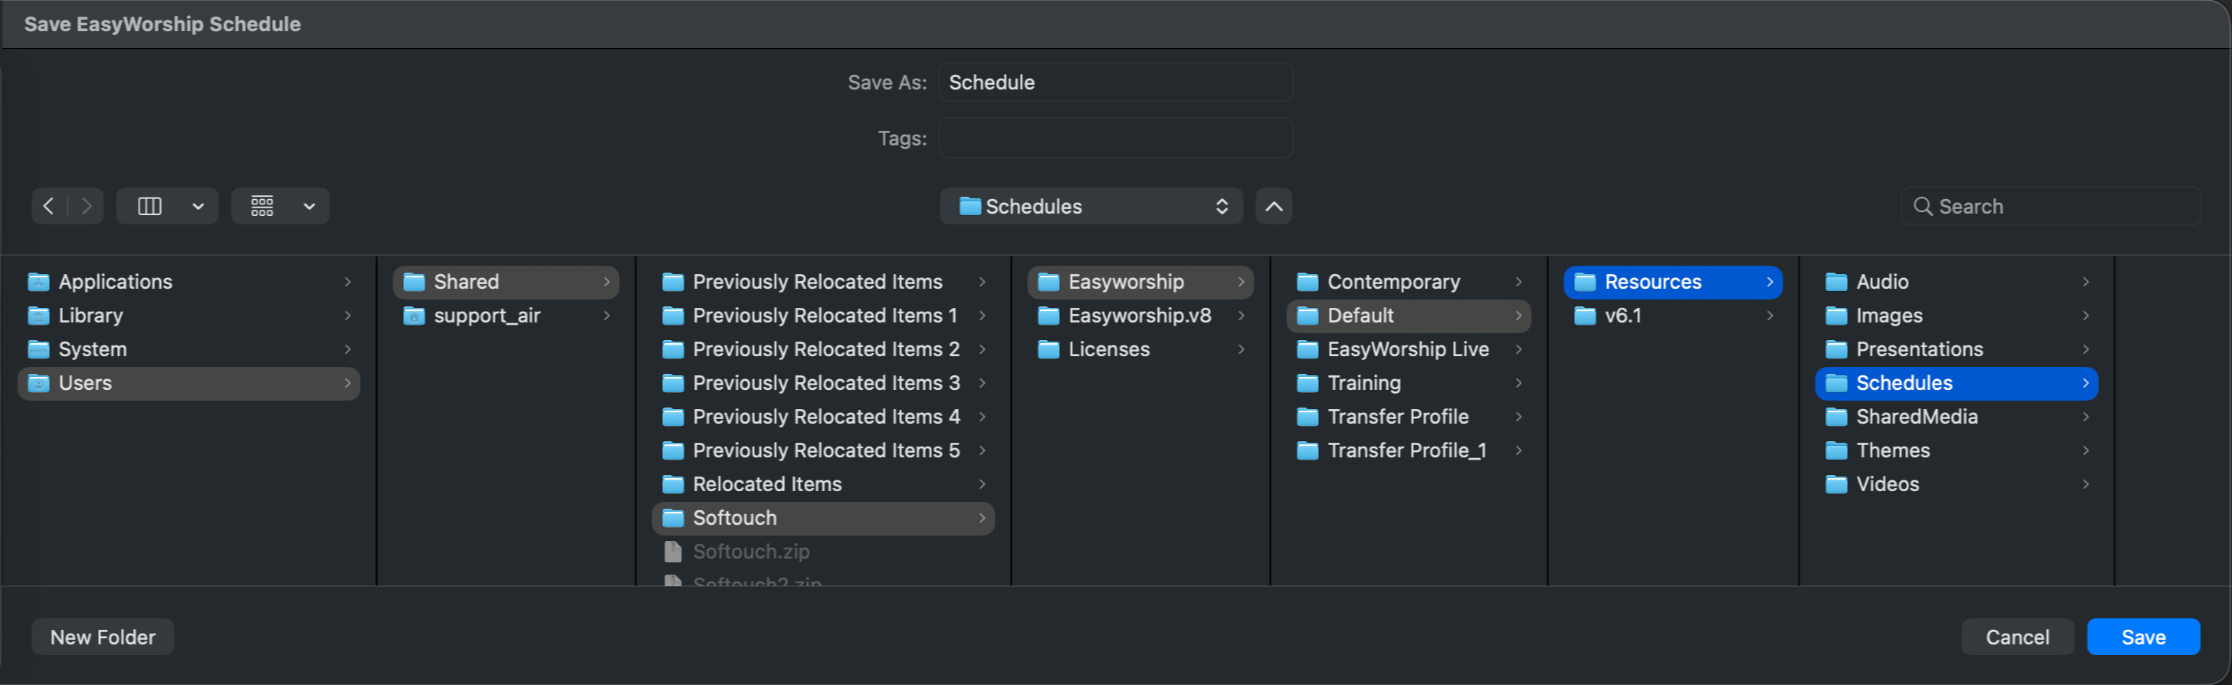
- Name your schedule file.
- Pack files in schedule.
- If you'll be transferring the schedule to another computer, make sure you choose File > Export Standalone Schedule so everything you added to the Schedule will be packed into the Schedule when you save it...all in one file. Simple! It's an easy way to take one file to another computer and open it to start your worship service.
- Click Save.
Open & Use an Existing Schedule
If you want to use a Schedule file you've received from someone else or run a schedule that was previously saved, it's easy to get content from the Schedule to the screen.
- Click Open
 on the toolbar or select File > Open Schedule.
 - Navigate to the desired file and click Open.
- When the Schedule opens in EasyWorship, select an item in the Schedule Area and click Go Live
 . EasyWorship automatically selects the next item in the Schedule so all you need to do is click Go Live again to send the next item to the screen. If you don't see the item on the live screen, make sure you've clicked Live
  on the far right of the main menu.
SEE Check Schedule for Changes when opening a schedule from another computer.